Ever admired a wall with a perfectly smooth, pristine finish that seems to glow? Or winced at unsightly cracks, peeling patches, or an uneven texture marring an otherwise lovely room? The secret weapon behind that dream finish – often lies in a crucial preparatory layer: Wall Putty.
Whether you’re a seasoned professional or a dedicated DIYer, applying wall putty correctly is a fundamental skill for achieving lasting, beautiful results. This comprehensive step-by-step guide will walk you through the entire process – from surface preparation and choosing the right tools, to mixing, application techniques, sanding, and final checks. Mikazone will share pro tips to help you avoid common pitfalls and achieve that enviable, glass-smooth finish.
What is Wall Putty?
Wall putty is a fine, paste-like coating material applied to interior and exterior walls before painting. Composed of fillers (like calcium carbonate or gypsum) and binders (cement, acrylic polymers, or epoxy), it fills minor pores, cracks, and imperfections, creating a smooth, uniform surface.
What Is The Use Of Wall Putty?
1. Surface Smoothing: Fills minor cracks, pores, and imperfections in plaster or concrete surfaces to create an ultra-smooth, level base.
2. Enhanced Paint Adhesion: Provides a strong, uniform surface for paint to grip onto, preventing peeling or flaking.
3. Improved Paint Finish: Creates a bright, neutral base (especially white cement/acrylic types) that makes paint colors appear more vibrant and even.
4. Crack Bridging: (Especially acrylic & polymer types) Helps mask small hairline cracks and prevents them from telegraphing through the paint.
5. Surface Strengthening: Binds loose particles and adds a protective layer, increasing the wall’s durability.
6. Moisture Resistance: (Cementitious, polymer-modified, acrylic types) Offers a degree of protection against moisture, reducing efflorescence and damp-related damage.
How to Apply Wall Putty?
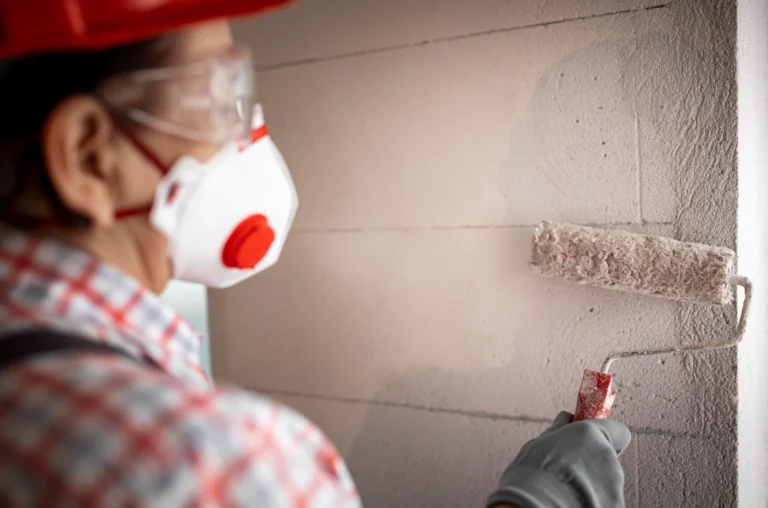
STEP 1: Surface Inspection & Preparation
Check substrate conditions:
- Must be clean, dry, and structurally sound
- No dust, oil, grease, or loose particles
- Surface temperature: 5-35°C (40-95°F)
- Relative humidity: <85%
Surface preparation steps:
- 1. Remove all paint flakes, efflorescence, or mold with a wire brush
- 2. Fill large cracks (>3mm) with cement mortar first
- 3. Roughen smooth surfaces (e.g., concrete) with 60-grit sandpaper
- 4. Dampen the surface lightly (no standing water) for highly absorbent substrates

STEP 2: Putty Mixing
| Material | Function | Typical % |
|---|---|---|
| White cement | Primary binder | 30-40% |
| Calcium carbonate (200-400 mesh) | Filler for smoothness | 20-30% |
| Quartz powder (200 mesh) | Reinforcement | 15-25% |
| HPMC (MK 100P) | Water retention, workability | 0.3-0.8% |
| Redispersible Polymer Powder (MK 3520) | Flexibility, adhesion | 3-5% |
| PP fibers (6-12mm) | Crack resistance | 0.1-0.3% |
| Hydrophobic agent | Water resistance | 0.5-1% |
| Dispersing agent | Prevents clumping | 0.1-0.3% |
Pour clean, potable water into a clean mixing bucket first, then gradually add the recommended quantity of wall putty powder while stirring continuously using a mechanical stirrer or paddle;
Mix thoroughly for 3-5 minutes to achieve a lump-free, smooth, homogeneous paste with a creamy consistency (avoid over-mixing);
Let the mixed putty slake (rest) for 5-10 minutes, then remix briefly before use; use the putty within its specified pot life (typically 2-4 hours).
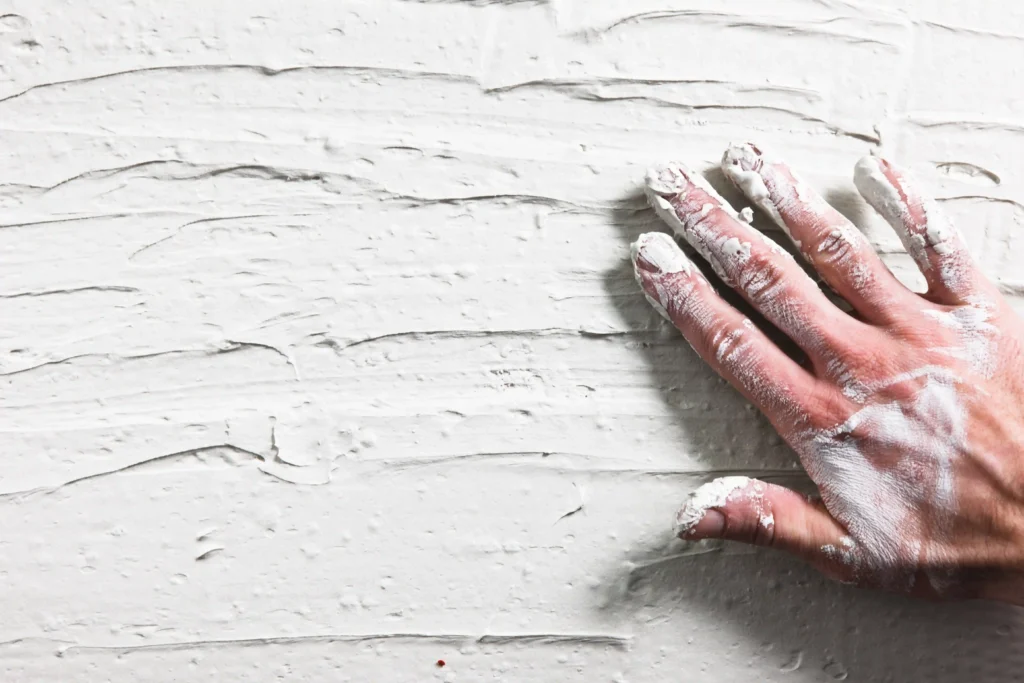
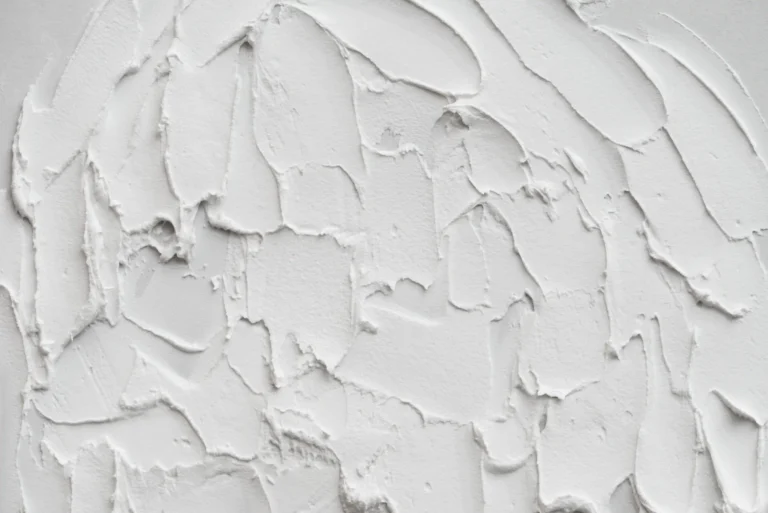
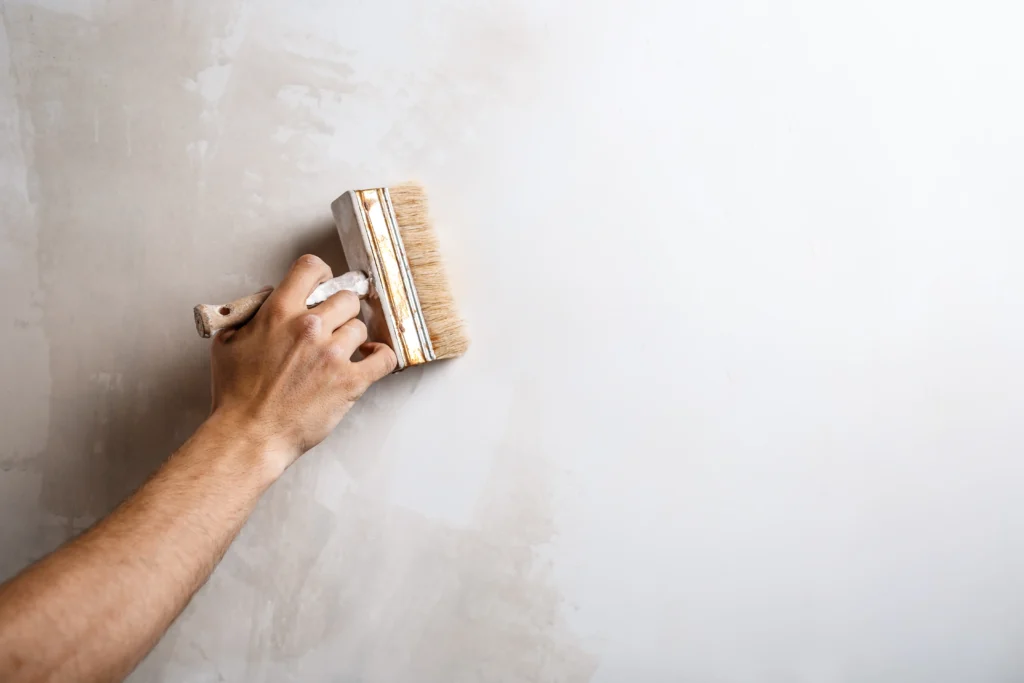
STEP 3: First Coat Application
1. Tool Selection: Use an 8–10 mm notch trowel or steel float for application.
2. Thickness Control: Apply the putty to a consistent thickness of 1–1.5 mm.
3. Application Method:
- Hold the tool at a 60° angle and apply in firm, upward strokes.
- Maintain uniform pressure across the surface to ensure even thickness.
- Work in manageable sections of 1–1.5 m² to prevent premature drying.
- Feather the edges of each section to seamlessly blend with adjacent areas.
4. Drying Protocol:
- Allow the first coat to become touch-dry (4–6 hours).
- Wait 12–24 hours before proceeding to the second coat.
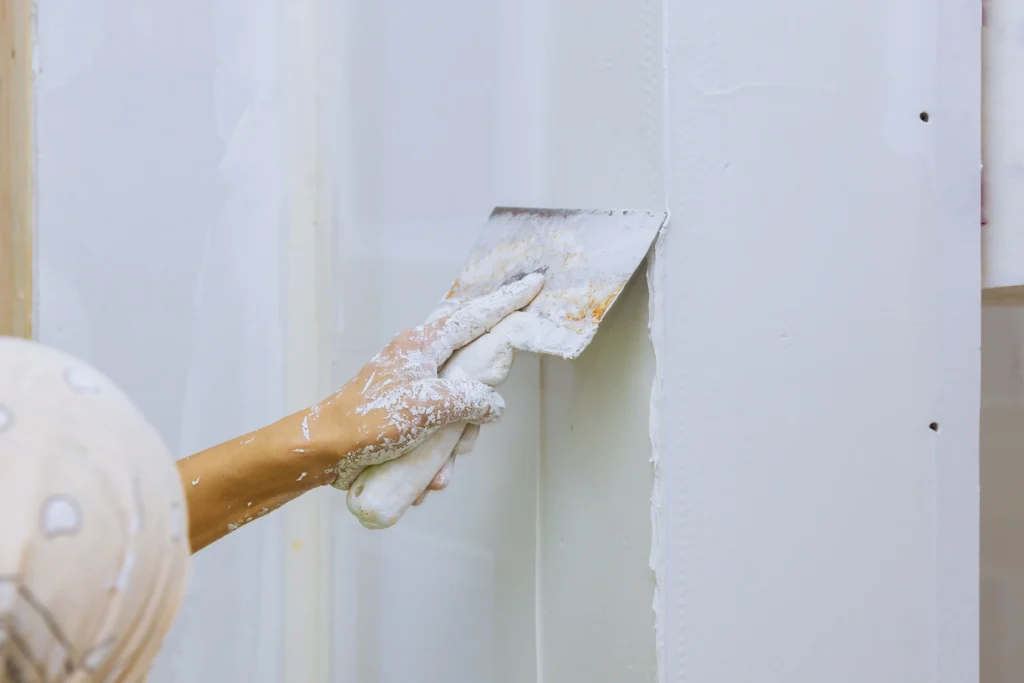
STEP 4: Second Coat Application
1. Tool Selection: Switch to a 4–6 mm flexible putty knife.
2. Thickness Control: Apply a thinner layer of 0.5–1 mm.
3. Application Method:
- Spread the putty perpendicular to the direction of the first coat.
- Use lighter pressure than the first coat to achieve a smoother finish.
- Immediately remove excess material with a clean knife.
4. Quality Check: Ensure no trowel marks or ridges remain after application.
STEP 5: Finishing & Curing
Sanding Procedure:
Begin sanding when the putty is 70–80% cured (typically 12–24 hours after the second coat).
Follow this grit sequence:
- Start with 120-grit sandpaper for initial leveling.
- Refine the surface with 180–220 grit for final smoothing.
Technique Guidelines:
- Use light pressure and circular motions.
- Sand only on dry putty (never wet-sand).
- Remove all dust with a microfiber cloth or vacuum before proceeding.
Curing Conditions:
| Factor | Requirement |
|---|---|
| Temperature | 20–25°C (68–77°F) |
| Humidity | 50–70% Relative Humidity (RH) |
| Sunlight | Shield from direct exposure for 48 hours |
| Water Exposure | Prevent moisture contact for 72 hours |
| Rain | Avoid heavy rain for 5 days |
Curing Time:
- Apply primer after 3–5 days.
- Apply paint after 5–7 days.
STEP 6: Post-Application Maintenance
1. Wait a minimum of 7 days before pressure washing the surface.
2. For exterior applications, apply a waterproof topcoat for enhanced protection.
3. In harsh climates (e.g., extreme heat/cold or coastal areas), inspect annually for microcracks and repair promptly.
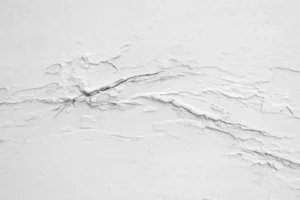
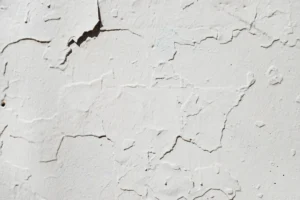
Common Issues & Solutions in Wall Putty Application:
1. Cracking/Hairline Cracks:
Causes:
- Applying putty too thickly (>1.5-2mm/coat).
- Rapid drying (high heat/wind).
- Structural substrate movement.
- Base plaster inadequately cured (<21 days).
- Expired/improperly mixed putty.
Solutions:
- Apply thin, even coats.
- Control drying (avoid sun/wind).
- Ensure base plaster is fully cured & stable.
- Mix correctly with clean water per instructions.
- Use flexible putty (acrylic/polymer-modified) for crack-prone areas.
- Sand minor cracks & reapply a thin coat.
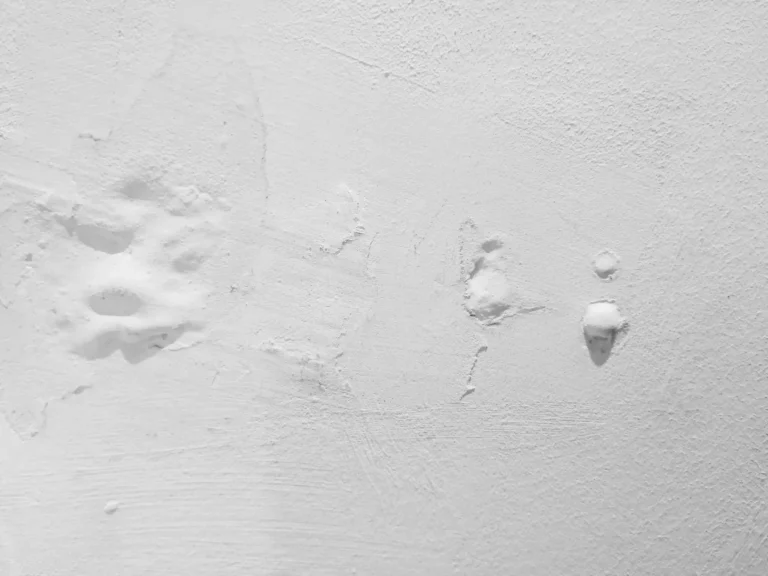
2. Blistering or Bubbling:
Causes:
- Moisture is trapped beneath the putty.
- Application over contamination (oil, grease).
- Insufficient priming on highly porous surfaces.
Solutions:
- Ensure substrate is completely dry (<10% moisture).
- Thoroughly clean & prime the surface before applying putty.
- Scrape off blistered areas, let dry completely, prime, and reapply a thin coat.
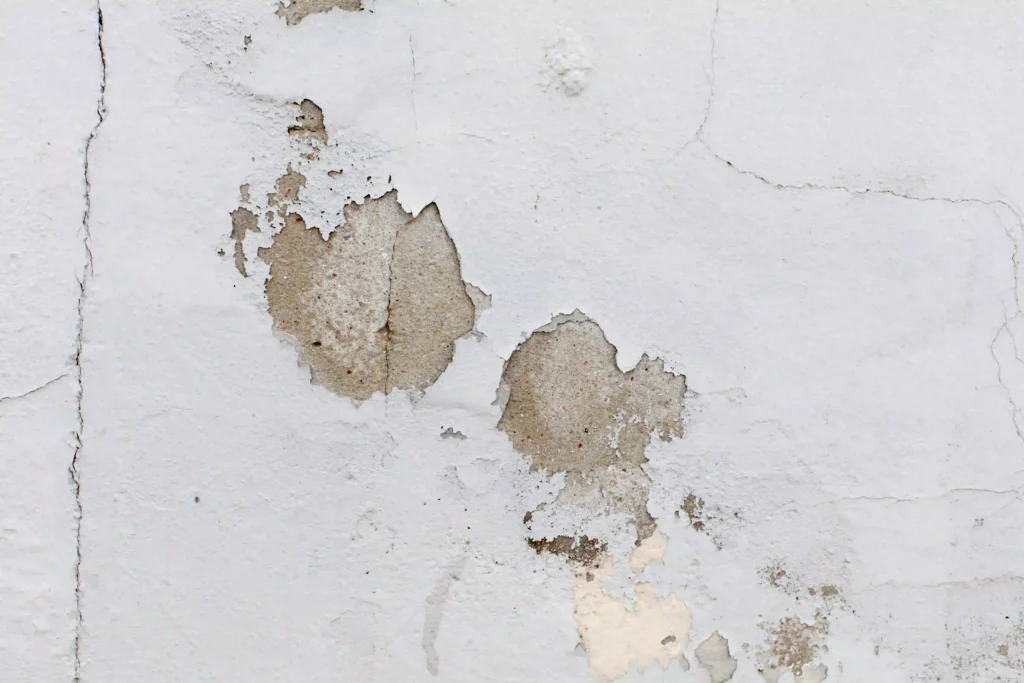
3. Poor Adhesion (Flaking/Peeling):
Causes:
- Inadequate surface prep (dust, grease, loose particles).
- No primer used.
- Over-diluted putty.
Solutions:
- Thoroughly clean & roughen the surface.
- Repair the weak substrate.
- Apply a bonding primer.
- Mix the putty to the correct consistency.
- Sand off loose material, clean, prime, and reapply.
Key Prevention Principles:
Surface Prep is Paramount: Clean, dry, sound, and primed surfaces are non-negotiable.
Follow Mixing Instructions: Use clean water and tools, mix correctly, and observe pot life.
Apply Thin, Even Coats: Avoid thick applications.
Respect Drying/Curing Times: Never rush between coats, sanding, or painting.
Control Environment: Apply within recommended temperature/humidity ranges, avoid extremes.
Use Compatible Materials: Ensure primer, putty, and paint are suitable for the substrate and each other.
Prioritize Quality: Invest in reputable brands known for performance.
Summary
For optimal wall putty results, meticulous preparation is essential: ensure the surface is clean, dry, sound, and primed. Mix the putty powder with clean water strictly according to the manufacturer’s instructions, achieving a smooth, lump-free consistency. Apply two thin, even coats using appropriate tools, allowing each coat to dry fully as specified. Finish with careful sanding for a perfectly smooth surface before painting.
Perfecting your wall putty application is crucial for a durable, flawless finish. Remember, the quality of the putty itself is equally vital. Premium ingredients like high-quality HPMC (ensuring workability and water retention), RDP (enhancing adhesion, flexibility, and toughness), and PP Fibers (reducing shrinkage cracks) are fundamental to performance. As a leading manufacturer, Mikazone supplies these superior-grade HPMC, RDP, and PP Fibers. Need custom formulations? Contact us to partner for exceptional wall putty solutions!